Incubation is the act Forced draft incubators
I. Based on heating source:
II. Based on fuel used
Location
The chick hatcheries are modern buildings that provide separate rooms for each hatchery operations, but each room has its individual requirements. The hatchery area should be a separate unit with its own entrance and exit, unassociated with those of the poultry farm. The hatchery should be situated at least 1000 ft from poultry houses to prevent horizontal transmission of disease-producing organisms from the chicken houses to the hatchery.
Size of the hatchery
The size of the hatchery is based on the egg capacity of the setters and hatchers, number of eggs that can be set each week and number of chicks hatched each week. Also, necessary space to be allotted for future expansion.
Hatchery design
Hatchery should be constructed in such a manner that the hatching eggs may be taken in one end and the chicks removed at the other. In other words, eggs and chicks should flow through the hatchery from one room to the one next needed in the hatching process. There should not be no backtracking. Such a flow affords better isolation of the rooms and there is less human traffic throughout the building.
Hatchery construction
Hatchery buildings should be intricately designed, properly constructed, and adequately ventilated. Brief general points to be considered are,
Hatchery rooms/ structures
 |
Hatchery rooms must be adequate in size. Usually, hatcheries of medium size will hatch chicks twice a week, but large hatcheries will hatch more than two hatches per week. Consequently, hatching schedules will affect the size of some rooms in the hatchery.
Shower room
To maintain bio-security it is essential that all persons entering the premises shower and change into clean clothing in an adjoining room. It is the only entrance and exit, and the hatchery becomes an isolated unit as far as human beings are concerned.
Hatching eggs receiving counter
Employees delivering hatching eggs to the hatchery must not enter the hatchery in the course of their duties. Eggs should be delivered to the hatchery through a specialized door.
Fumigation room
The fumigation room should be as small as possible in order to reduce the amount of fumigant used. A fan should be used to circulate the air and exhaust the fumigant.
Egg holding (egg-cooler) room
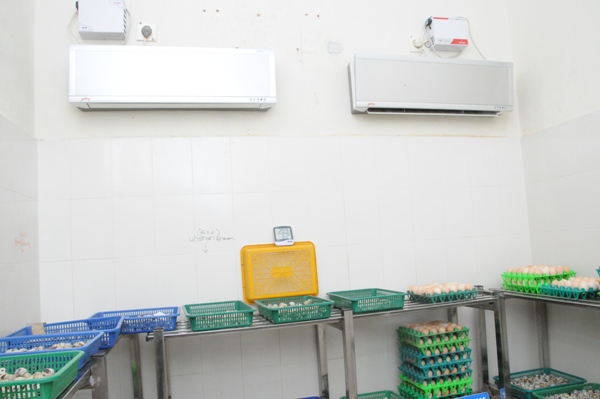 |
Egg holding room should be about 8 ft high, insulated, slowly ventilated, with complete air movement, cooled, and humidified. The room must be refrigerated to maintain a temperature of 650c A forced-air type of refrigeration unit is required in order to keep a uniform temperature throughout the room.
Pre incubation warming room
Here eggs are kept for the purpose of drying the ‘sweat’ over eggs. It can be achieved by providing sufficient number of ceiling fans in this room.
Setter room
 |
Setters (incubators) are kept in this room. The size of the setter room will depend on the make of the equipment used. The incubating equipment takes relatively little floor space. The exact room size involves the aisle and working area necessary to move the eggs and chicks in and out of the machines. A minimum space of 3 ft should be allotted between the sides of adjacent setters and from wall to sides or back of the setters. Similarly, minimum of 10 ft should be allotted in front of two setters when kept face-to-face arrangements.
Egg candling (dark) room
 |
This room is usually constructed in between setter and hatcher room for candling eggs. Candling is usually practiced when eggs are transferred from setter to hatcher. Provisions should be made to dark the room to facilitate easy candling.
Hatcher room
Hatchers are kept in this room. Here sufficient spaces are to be allowed around hatcher similar to that of setter room. Since it is prone for contamination with fluffs and debris at the time of hatching, the door towards setter room is to be tightly closed unless the necessity arises (at the time of egg transfer).
Chick holding room
Next to hatcher room, chick-holding room is present. A relative humidity of 65% is maintained to prevent excessive chick dehydration. Here, the chicks are sex-separated, graded, vaccinated and placed in chick boxes.
Wash room
After chicks are boxed, the trays are washed in a tray washer in the washroom. Necessary pipelines with high-pressure pumps are kept in this room.
Clean room
After the trays are washed, they are placed in their trolleys and moved to the adjacent clean room.
Five major functions are involved in the incubation and hatching of poultry eggs. They are:
1. Temperature
Temperature is the most critical environmental concern during incubation because the developing embryo can only withstand small fluctuations during the period. Embryo starts developing when the temperature exceeds the Physiological Zero. Physiological zero is the temperature below which embryonic growth is arrested and above which it is reinitiated. The physiological zero for chicken eggs is about 75oF (24oC).
The optimum temperature for chicken egg in the setter (for first 18 days) ranges from 99.50 to 99.75 o F and in the hatcher (last 3 days) is 98.50 F.
2. Humidity
Incubation humidity determines the rate of moisture loss from eggs during incubation. In general, the humidity is recorded as relative humidity by comparing the temperatures recorded by wet-bulb and dry-bulb thermometers.
Recommended incubation relative humidity for the first 18 days ranging between 55 and 60% (in setter) and for the last 3 days ranging between
65 and 75%. Higher humidity during hatching period is given to avoid dehydration of chicks.
3. Ventilation
Ventilation is important in incubators and hatchers because fresh oxygenated air is needed for the respiration (oxygen intake and carbon dioxide given off) of developing embryos from egg setting until chick removal from the incubator.
The oxygen needs are small during the first few days compared to the latter stages of development. Oxygen content of the air at sea level is about 21%. Generally the oxygen content of the air in the setter remains at about 21%. For every 1% drop in oxygen there is 5% reduction in hatchability.
Carbon dioxide is a natural by-product of metabolic processes during embryonic development and is released through the shell. The tolerance level of CO2 for the first 4 days in the setter is 0.3%. CO2 levels above 0.5% in the setter reduce hatchability and completely lethal at 5.0%.
Since the normal oxygen and CO2 concentrations present in air seem to represent an optimum gaseous environment for incubating eggs, no special provision to control these gases is necessary other than to maintain adequate circulation of fresh air at the proper temperature and humidity.
4. Position of eggs
Artificially incubating eggs should be held with their large ends up. It is natural for the head of the chick to develop in the large end of the egg near the air cell, and for the developing embryo to orient itself so that the head is uppermost. When the eggs are incubated with the small end up, about 60% of the embryos will develop with the head near the small end. Thus, when the chick is ready to hatch, its beak cannot break into the air cell to initiate pulmonary respiration. Eggs positioned horizontally will incubate and hatch normally as long as they are turned frequently. Under normal circumstances eggs are set with large end up for the first 18 days (in setter) and in horizontal position for the last 3 days (in hatcher).
5. Turning of eggs
Birds, including chickens and quail, turn their eggs during nest incubation. Nature provides nesting birds with the instinct of turning eggs during incubation. Similarly eggs to be turned at least 8 times a day. Turning of eggs during incubation prevents the developing embryo adhering to the extra-embryonic membranes and reduces the possibility of embryo mortality. In large commercial incubators the eggs are turned automatically each hour i.e. 24 times a day. Most eggs are turned to a position of 45o from vertical, and then reversed in the opposite direction to 45o from vertical. Rotation less than 45o are not adequate to achieve high hatchability. Turning is not required in Hatcher.
Factors |
Setter |
Hatcher |
Temperature |
99.50 to 99.75 o F |
98.5 o F |
Relative Humidity |
55-60 % |
65-70 % |
Position |
Large end up |
Horizontal |
Turning |
Manual - 8 times |
No turning |
Handling of Hatching Eggs and Storage
The quality of hatching egg cannot be improved after lay but one can reduce the loss in hatching egg quality by adopting some standard procedures.
Maintaining egg quality in the breeder house
The hen will lay her eggs over nesting material. Use of enough clean, dry and mold-free nesting material can avoid cracked and dirty eggs. Similarly hens to be trained to use nests to lay eggs instead of laying on floors by providing sufficient number of nest boxes well in advance before the laying starts.
The frequency of hatching egg collection is very important to maintain quality. Hatching eggs should be collected at least 4 times a day. Hatching eggs are susceptible to contamination and every effort must be made to reduce the microbial load. Therefore, it is imperative that people wash and sanitize their hands before collecting eggs from the nests or egg belts. The flats that eggs are placed on must also be sanitized and free of organic material.
Selection of hatching eggs
Not all eggs laid by a breeding flock are set. Eggs that are cracked, dirty or misshapen are usually not used for hatching. Very small or very large eggs do not hatch as well as eggs in the middle size range. Eggs with thin or very porous shells are not likely to hatch well because of excessive losses of water during incubation.
Reducing contamination of hatching eggs
Poor hatching egg sanitation can be a major cause of lower hatchability and poor chick quality. There is no such thing as a sterile eggshell. More bacteria are picked up on the shell when the egg passes through the cloaca where urine and intestinal contents also pass. The bacterial load found on an eggshell at the time of lay ranges from 300 to 500 organisms. After oviposition, every surface the egg comes in contact with can further inoculate the shell surface. After an egg is laid it begins to cool. During the cooling process the egg contents begin to shrink and producing negative pressure. This is one of the more opportune times for bacteria on the shell surface to penetrate the eggshell.
Egg has many natural defense mechanisms to reduce bacterial penetration. The shell itself provides some protection. The cuticle on the surface of the eggshell is the best natural barrier to penetration. The inner and outer shell membranes provide additional barriers. The albumen provides a somewhat effective control over contamination. The albumen has a high pH in which most bacteria cannot survive. The chalazae contain an enzyme, lysozyme, which has antibacterial properties.
Many breeder people choose some methods to reduce the microbial load over the eggshell. Sanding, buffing, and wiping the hatching eggs are not good methods of sanitation. Sanding and buffing will remove at least part of the cuticle resulting in eggs that are more susceptible to penetration. Fumigation with formaldehyde gas is an effective method of sanitizing hatching eggs. Solutions containing quaternary ammonium compounds, formalin, hydrogen peroxide or phenols may be moderately effective in reducing the microbial load over hatching eggs. DO NOT wash eggs unless necessary. If it is necessary to wash eggs always use a damp cloth with water warmer than the egg. This causes the egg to sweat the dirt out of the pores. Never use water cooler than the egg. Also, do not soak the eggs in water.
Storage of hatching eggs
In normal hatchery operations, eggs cannot be set immediately after they are laid. Many hatcheries set eggs once or twice in a week. If hatching eggs are stored up to 1 week, hatching eggs should be kept in an egg holding room with the temperature of 65oF and the relative humidity of 75%. When storing eggs less than 10 days, store them with the large end up. If eggs are held for 10 days or more, hatchability will be improved if stored with small end up.
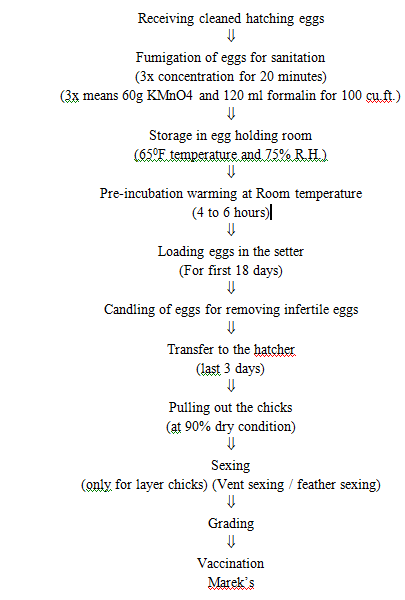
The operation of a chick hatchery involves the production of the largest number of quality chicks possible from the hatching eggs received at the hatchery. In addition, chicks must be produced economically. The sequences of hatchery operations followed in commercial hatcheries are
Advantages
1) Securing hatching eggs
Hatcheries can get the hatching eggs from any one of the following ways:
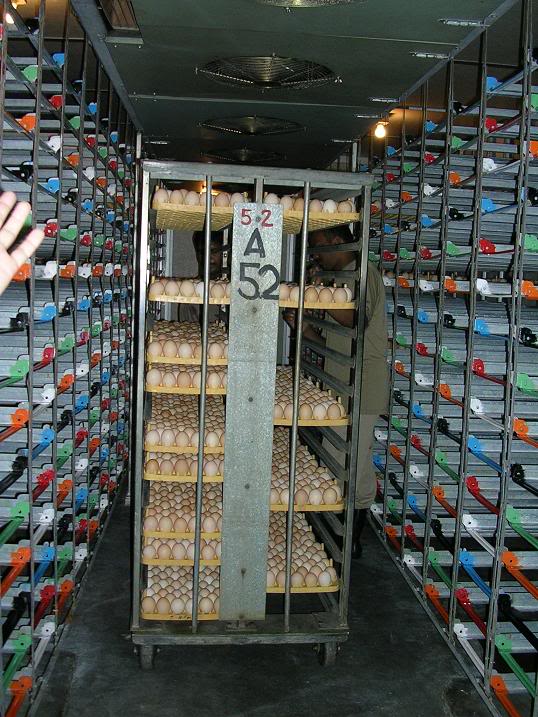
2) Traying hatch eggs
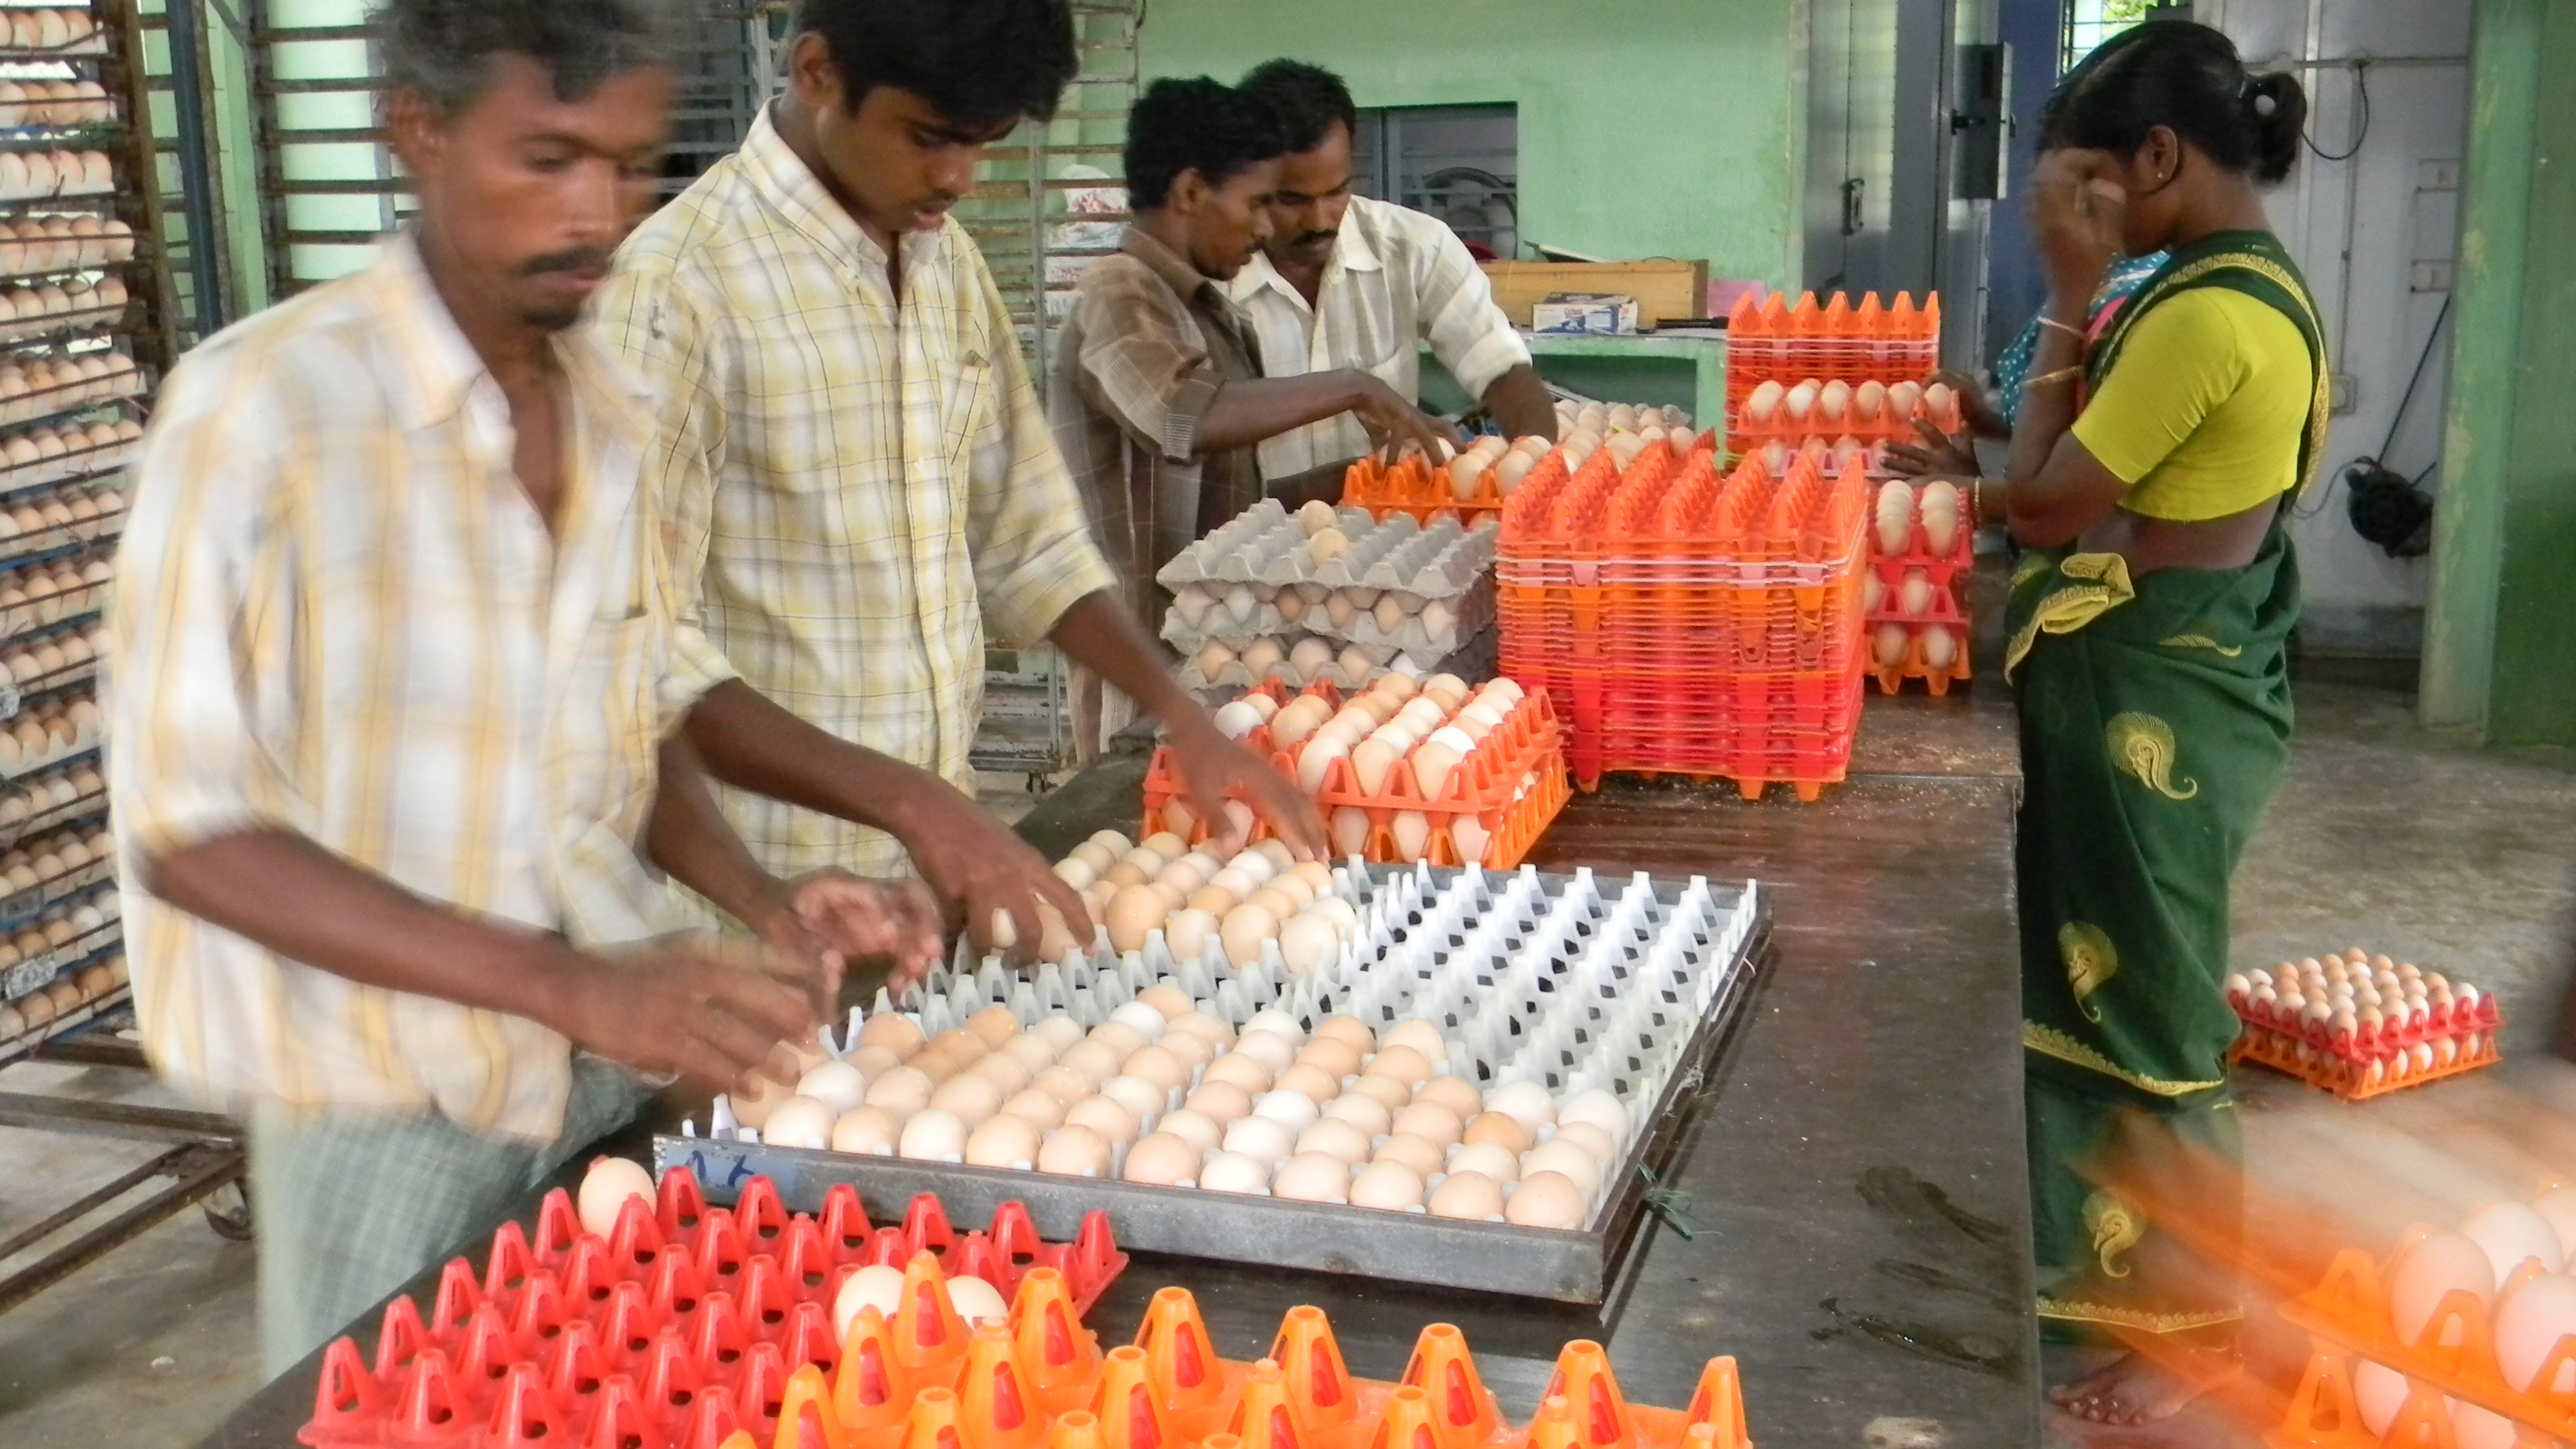 |
Traying hatch eggs |
The eggs from the breeder flocks should be transferred to the egg setter trays in the hatchery immediately after receiving.
3) Fumigation of hatching eggs
After traying, eggs are to be kept in the fumigation chamber for fumigation. Fumigating with 3x concentration of formaldehyde for 20 minutes will kill about 97.5 to 99.5% of the organisms on the shells. One ‘x’ concentration means 20 g of KMnO4 with 40 ml of formalin for 100 cubic feet (3x means 60 g of KmnO4 + 120 ml of formalin for 100 cubic feet).
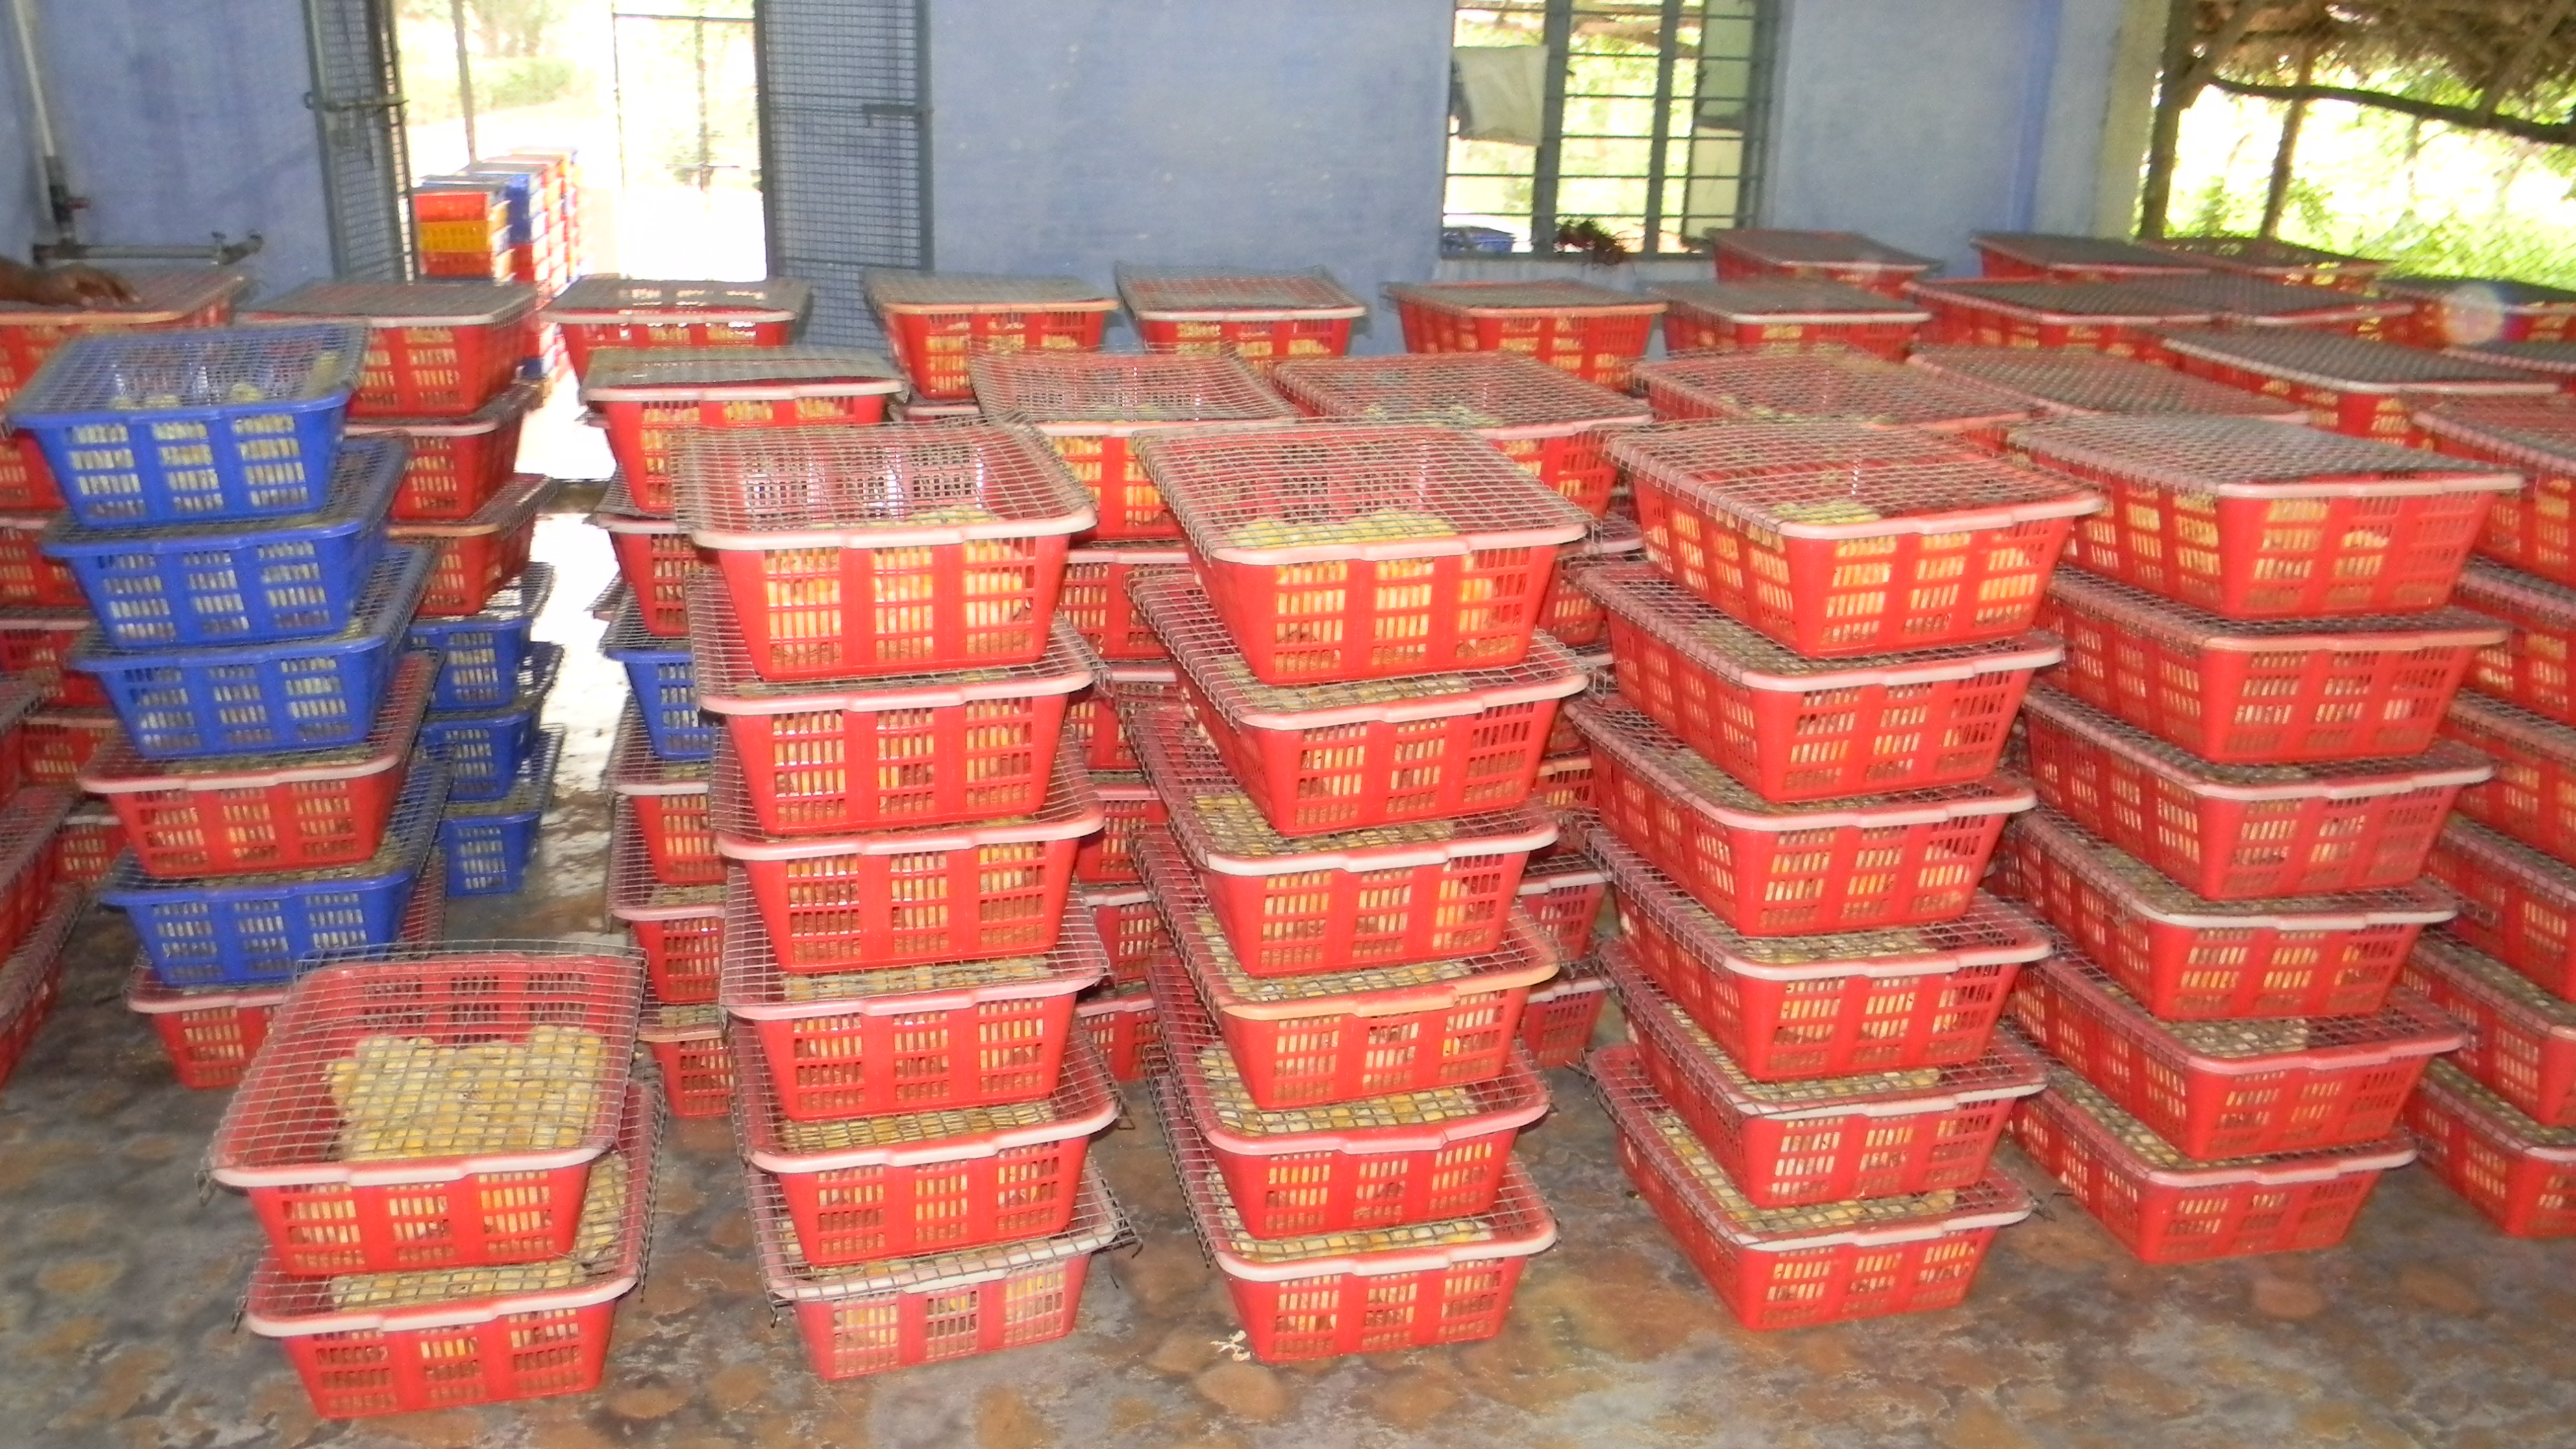
4) Cold Storage
When the eggs are not set immediately after receiving, they should be kept in cold rook at the temperature of 65 oF and 75% relative humidity.
5) Warm eggs prior to setting
Approximately 6 hours prior to placing eggs in the setter they should be moved from the egg-cooler room to normal room temperature. Here, atmospheric air condenses over eggshell and form water droplets over eggshell, which is called as ‘Sweating’. It is advantageous to warm eggs before placing them in the incubator by avoiding creation of low temperature in the machine by placing cool eggs directly.
6) Loading of eggs
Placing of eggs in the setter is called ‘Loading of eggs’. Eggs can be set in the setter either all-in all-out basis or batch basis. Most of the commercial hatcheries are practicing batch system of loading eggs in the setter that will minimize the initial time taken to reach normal incubation temperature in the setter. In this case, each setter is having hatching eggs with different stages of embryonic developments.
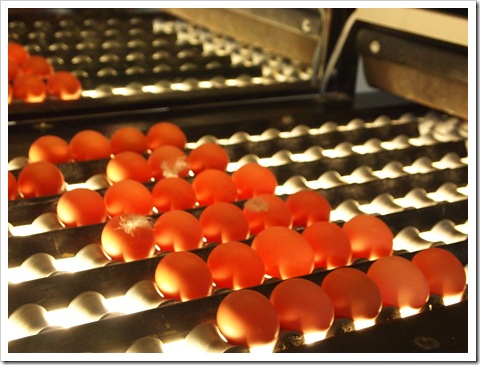
7) Candling
|
Candling is a process in which eggs are kept in front of a light source to find out the defects in eggshell, embryonic development etc. Candling can be done as early as five days of incubation, but errors in candling often occur at this time. Under commercial operations, candling is done when the eggs are transferred from setter to hatcher (at 19th day for chicken eggs). There are two methods of candling that can be used. The fastest method involves the use of a table or mass candler. An entire tray of hatching eggs may be placed on the mass candler and examined with one observation. Candling with a spot candler or individual candler is a little slower, but it is more accurate.
8) Transfer of eggs
In modern incubators, eggs are transferred from setter to hatcher at 19th day of incubation (for chicken egg) or when approximately 1% of the eggs are slightly pipped. In general, one-seventh of total incubation period is needed to keep eggs in the hatcher.
9) Pulling the hatch
The process of removing the chicks from the hatcher is often called pulling the hatch. Chicks should be removed from the hatcher as soon as all are hatched and about 95% are dry. Excessive drying in the hatcher should be avoided.
10) Hardening the chicks
When the chicks are first placed in the chick boxes they are soft in the abdomen, are not completely fluffed out, and do not stand well. They must be “hardened” by leaving them in the boxes for 4 or 5 hours. Such hardening makes it easier to grade the chicks for quality, and the chicks are more easily vent-sexed.
11) Grading the chicks
No chick below the minimum standard must be allowed to go to a customer. Some standards for quality are, 1) No chick deformities 2) No unhealed navels 3) Above a minimum weight 4) Not dehydrated and 5) Stand up well.
12) Sexing the chicks
 |
Sexing the chicks |
Layer type day-old chicks are need to be sex separated either by vent sexing or auto-sexing (feather sexing). In case of meat-type day-old chicks sexing is not practiced.
13) Vaccination
 |
Vaccination |
Most chicks are vaccinated against Marek’s disease in hatchery before delivery. Most common method of vaccination of day-old chicks is by subcutaneous method in the nape of the neck.
14) Chick delivery
Baby chicks should reach the customer’s farm early in the morning. Not only the weather is cooler during this part of the day but the early arrival allows a full day for close observation of the chicks by the caretaker.
15) Washing and cleaning
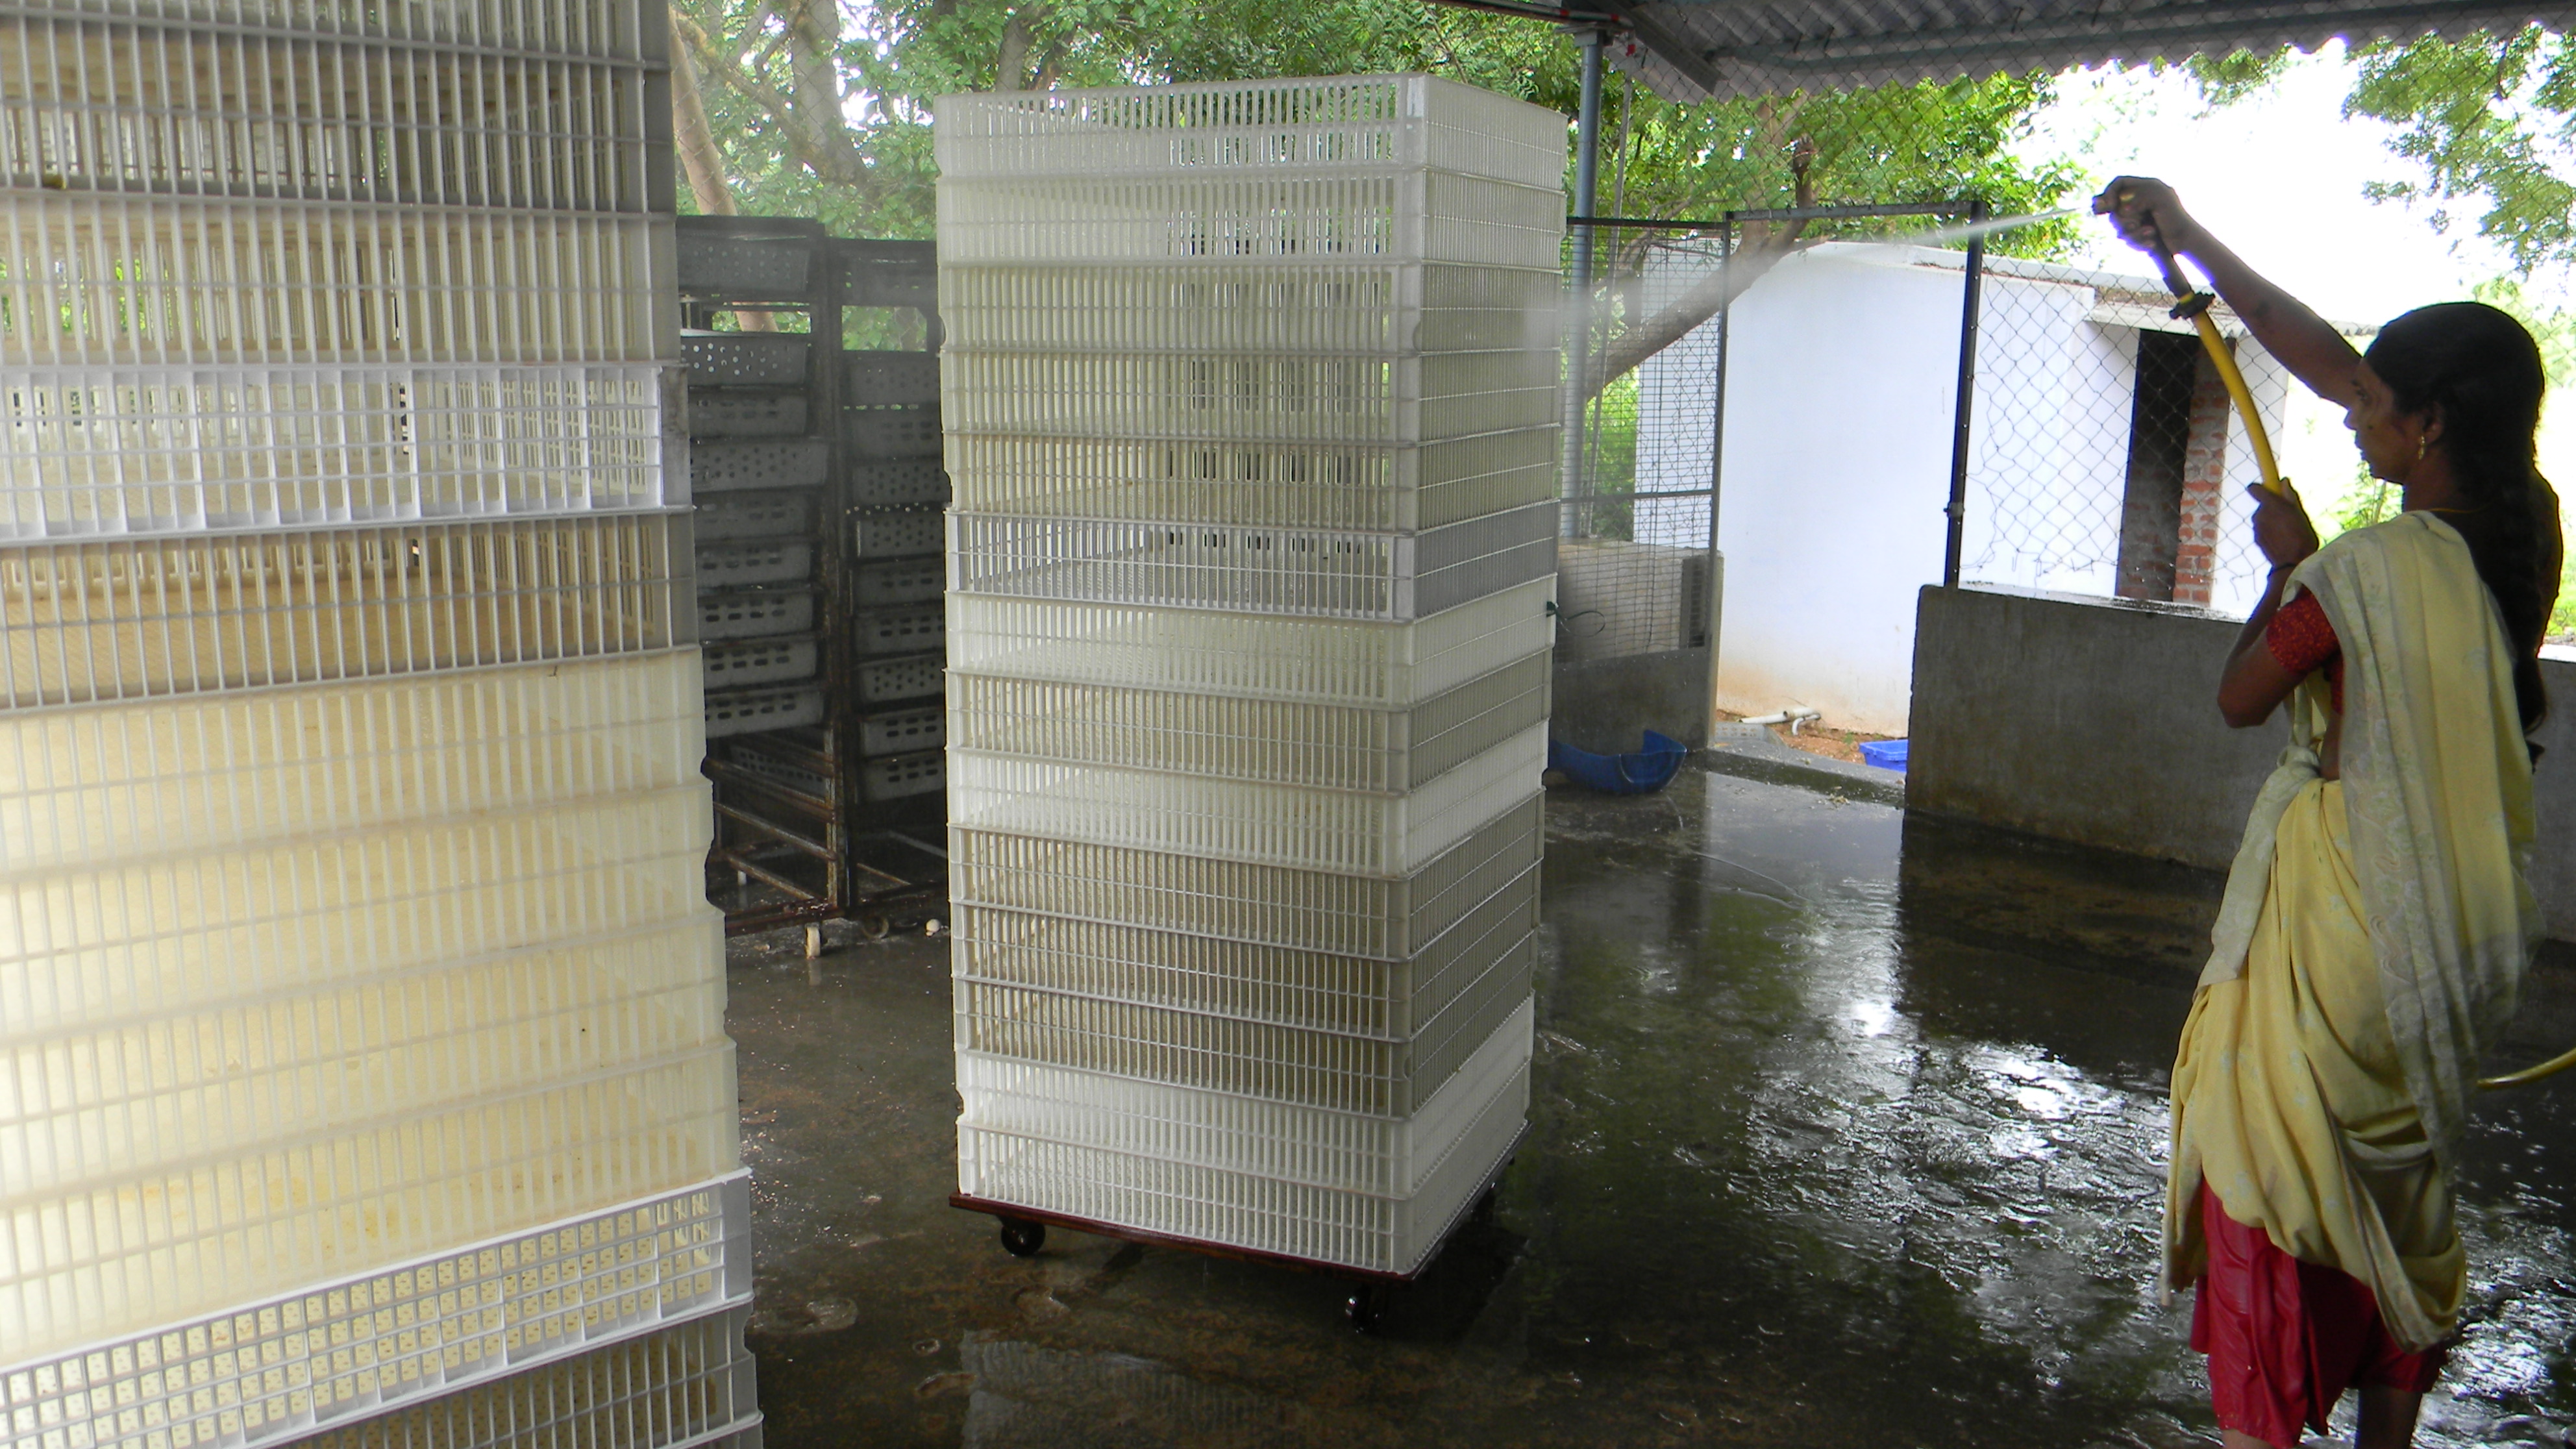 |
Washing and cleaning |
Cleaning the hatchery between hatches is of primary importance. The process must be complete. Except for the setters and setter room, every piece of equipment must be thoroughly vacuumed, scrubbed, disinfected and fumigated.
16) Disposal of waste
 |
Disposal of waste |
Hatchery wastes include infertile and non-hatched eggs, and dead and cull chicks that should be disposed in such a manner not to create problem to the neighbors and also not to contaminate the hatchery premises.
Steps Involved In Commercial Hatchery Operations